

Cartographer CNC Mount
A machined mount for the probe. See the installation guide and config notes.
Follow these in order. Each step links to the full guide.
Check mounting height, bed compatibility and the few rules that save a lot of trouble later.
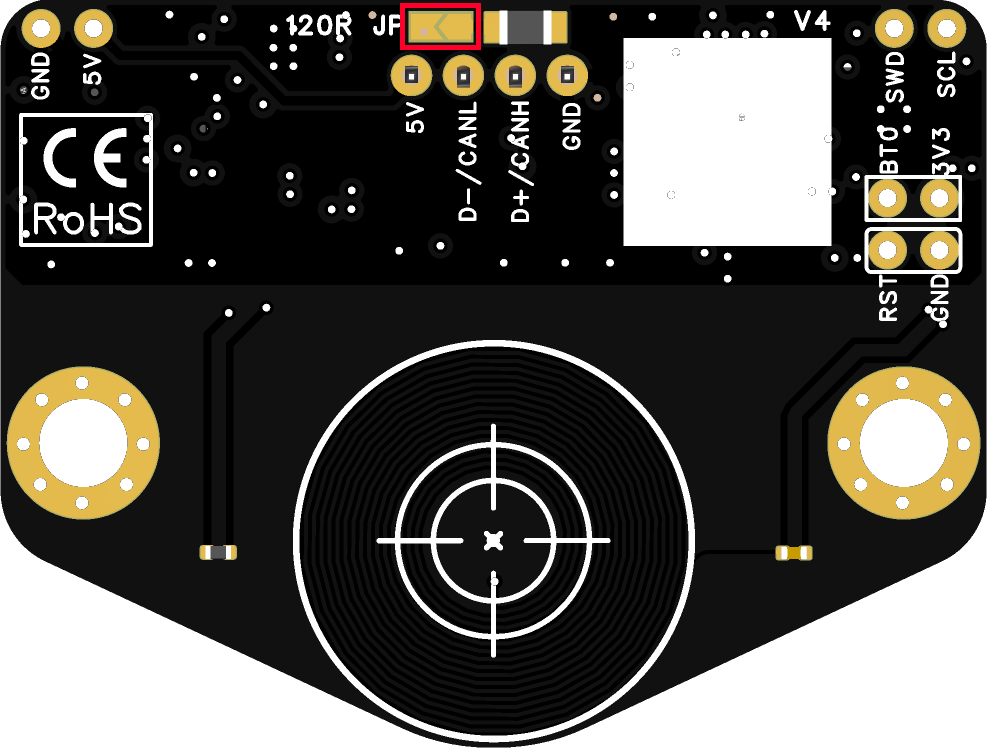
Mount the probe, wire it for USB or CAN, and sort out CAN termination.
Install the plugin, add the config sections and find your serial ID or CAN UUID.
Run scan calibration, then touch calibration if your printer supports it.
Set your Z offset and PRINT_START
Dial in the first layer and use the PRINT_START template so every print homes and meshes correctly.
Cartographer CNC Mount
A machined mount for the probe. See the installation guide and config notes.
Linear Motor
Our next product is in development. Coming soon.
Discord
The fastest way to get support. Join the Cartographer Discord and post in Help & Support with your printer.cfg and klippy.log.
Found a mistake in these docs, or have a question about an order? Write to [email protected].
Source code
The Klipper plugin, firmware and tools live on the Cartographer3D GitHub.